DJM-V10
CONTROLS
The Pioneer DJM-V10 offers mostly hardware/internal functionality for which you will need to read the Pioneer DJm-V10 manual from https://www.pioneerdj.com/en/support/documents/mixer/djm-v10/
In this manual we will describe only the additional software functionality and options when using VirtualDJ
SOURCE SELECT
Make sure all the Mixer Channels are set to Computer (USB) A or B source (depending on the USB port of the DJM-V10 you used to connect with your computer) in order VirtualDJ to receive and send Audio and Midi functionalities.
If any of the Mixer Channels are not set to USB A/B source, then VirtualDJ will not be able to send or receive Audio and Midi from those Channels.

CHANNELS LAYOUT
By default VirtualDJ is using the first 4 Channels for Decks (order is Deck C, Deck A, Deck B and Deck D), the 5th channel for Post-fader Return channel and the last channel for Sampler Output. The Sampler channel can be also assigned to a 5th VirtualDJ deck, advancing the amount of VirtualDJ controlled decks to 5.
However, one channel is always reserved for Post-Fader FX Return.
Maximum Decks : 5 (4 by default , assigned to any Mixer Channel)
Dedicated Sampler Output : Yes (6th by default) / No
Post Fader FX Return : Always assigned to any Mixer Channel (5th by default).

EQUALIZER & STEMS
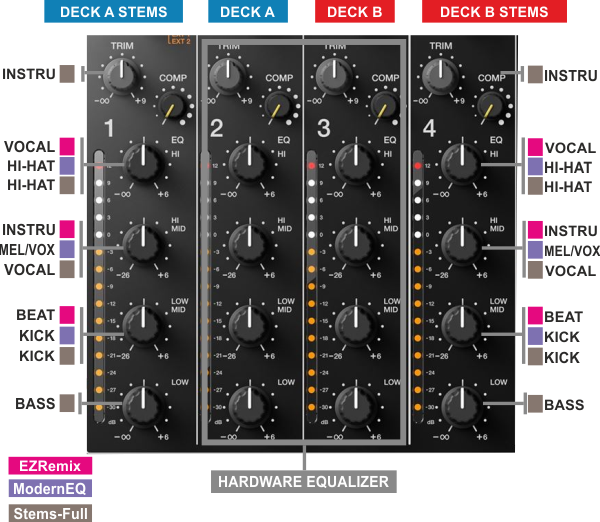
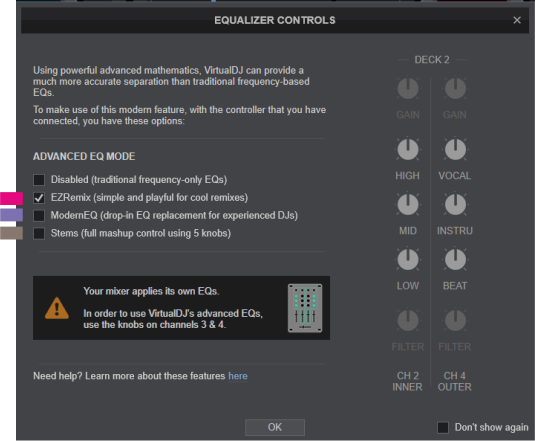
The Pioneer DJM-V10 is applying its own 4-Band Equalizer, thus VirtualDJ will not apply its internal one. By default the first 3 knobs from top named as HI, HI MID and HI LOW, are assigned to fake EQ mode actions, so will show their positions on the screen, just a mixing aid.
Using Stems separation is possible only when using 2 VirtualDJ Decks (Decks A and B) and the 2 middle Channels . In this case, you can use the outer mixer channels to apply Stems.


