Modify a Skin
How to modify a skin
Sometimes you find a skin that you really enjoy but there is something that doesn't fit right for your workflow or style. VirtualDJ gives you the ability to make changes to the skin in order for you to customize it's behaviour. This page in conjunction with the Skin Developer SDK will guide you through the process of extracting an existing skin and modifying it to fit your needs.
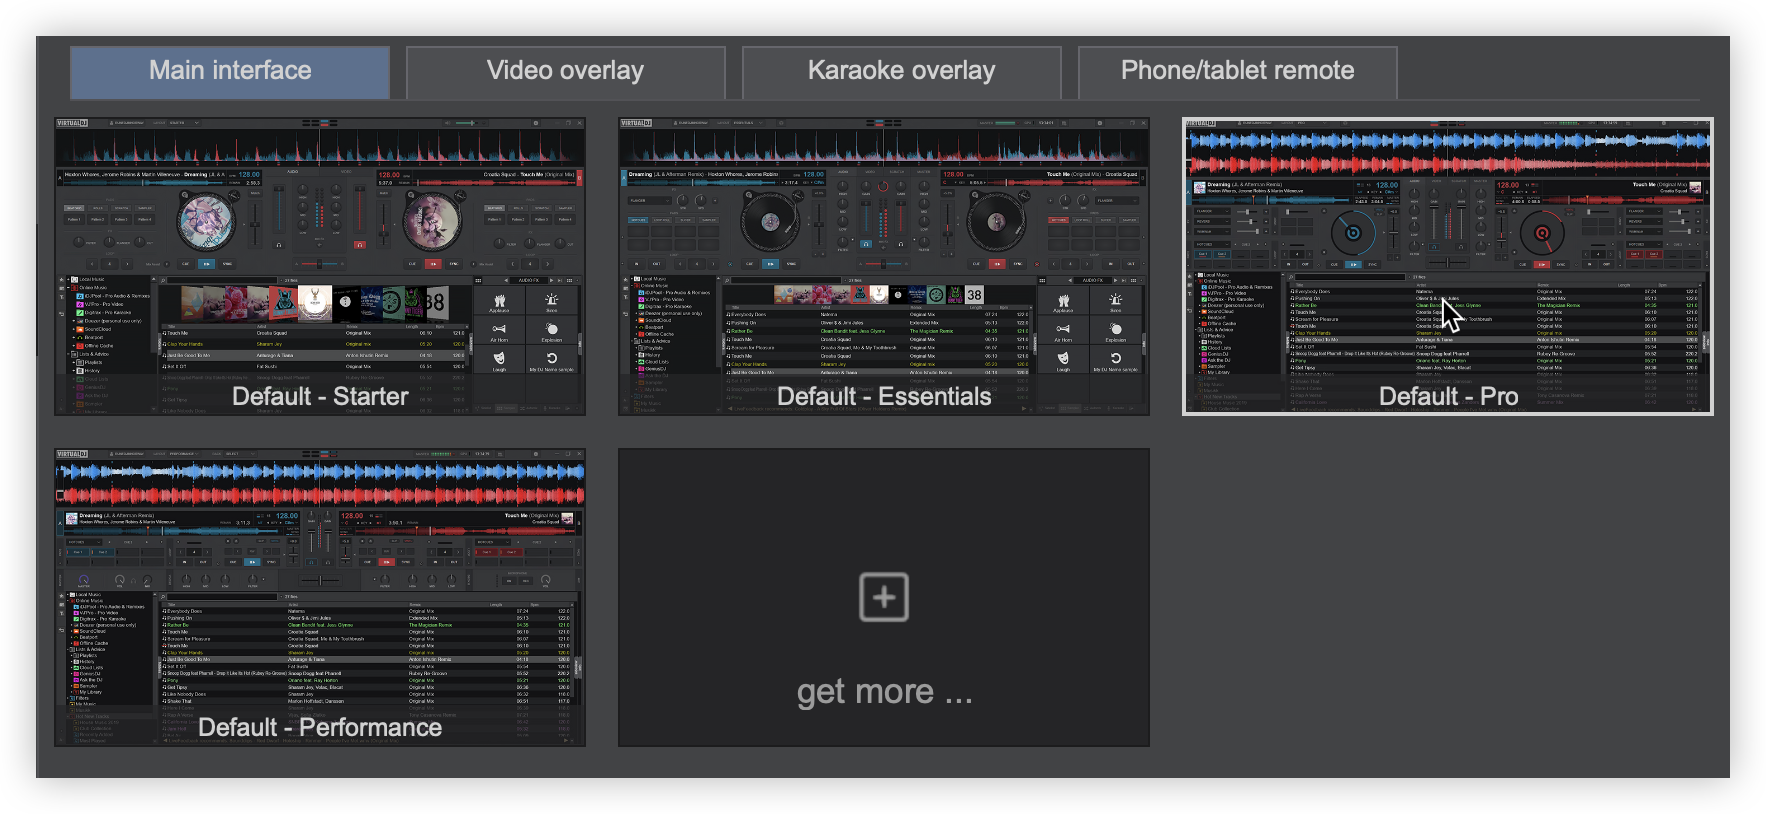
1. Open the Settings Interface Tab in order to get to the list of existing/installed skins
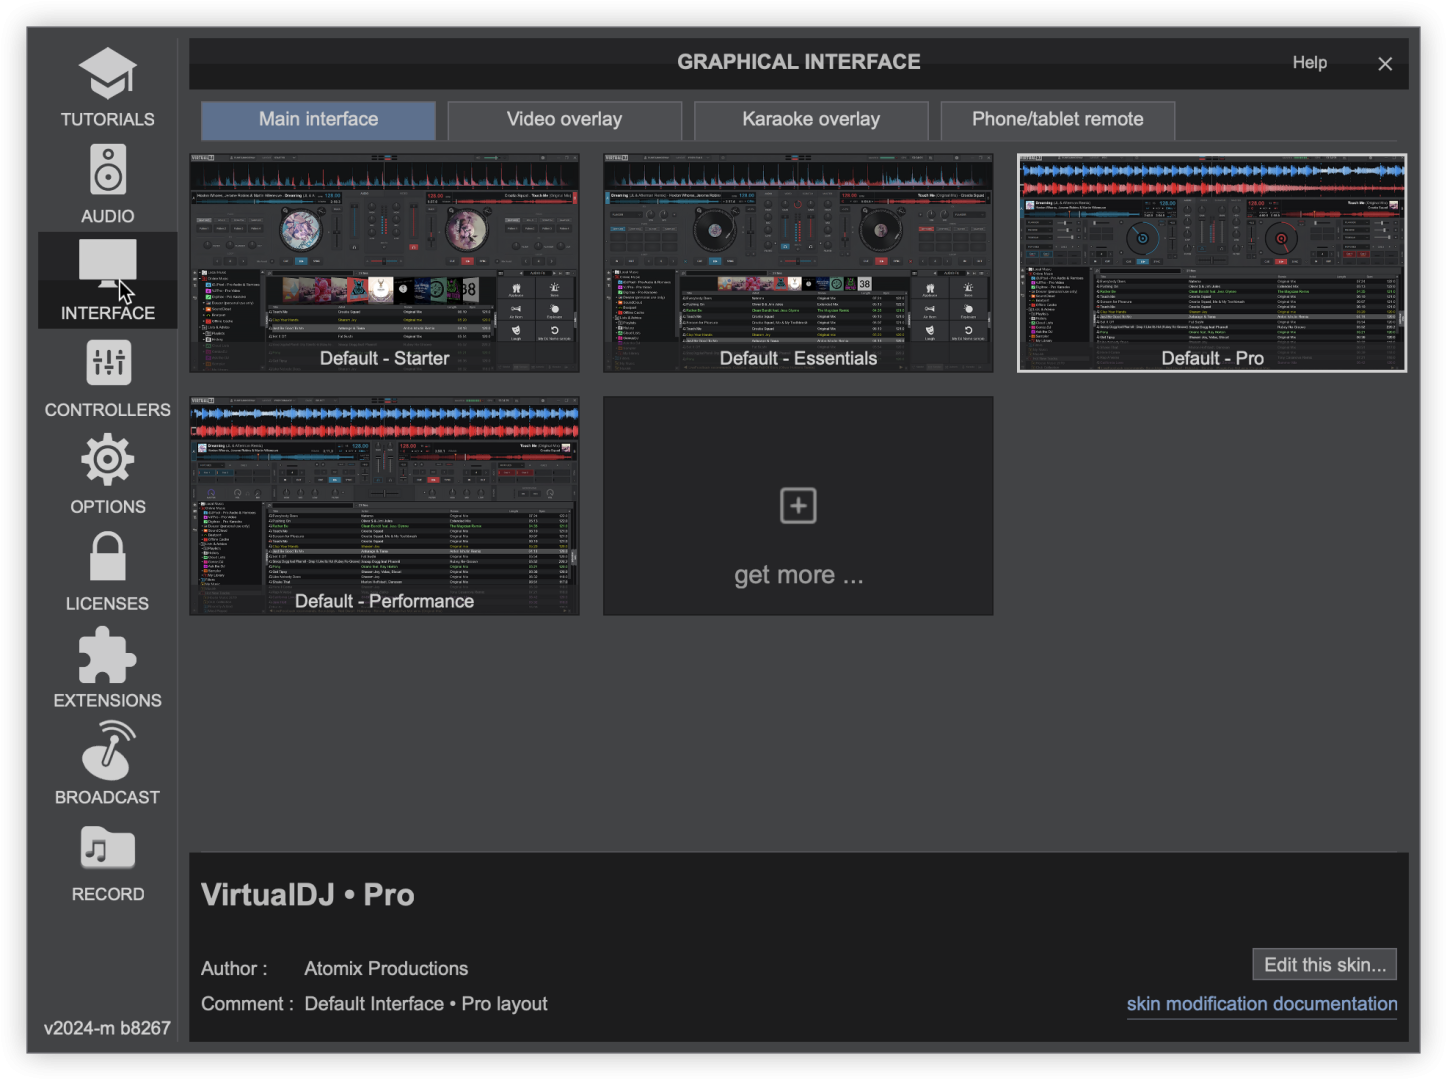
2. Find and select the skin that you wish to modify
3. Go to the lower right corner of the Interface Menu and click on Edit this skin

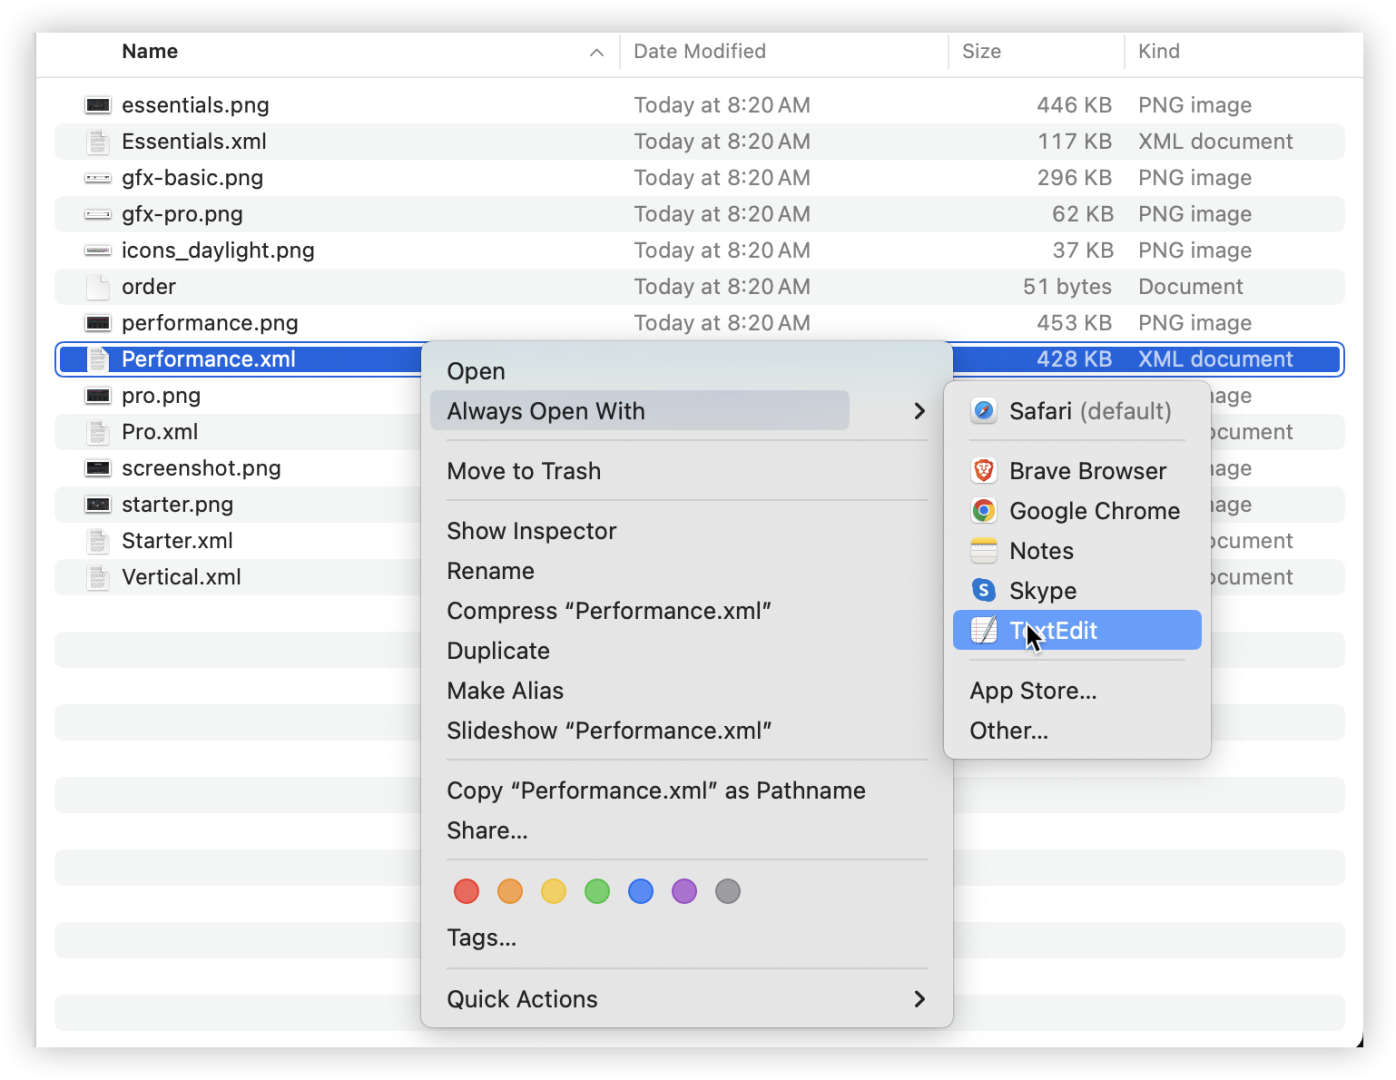
4. The root skins folder (VirtualDJ/Skins) on your computer will automatically open. Right click on the XML file that you wish to edit and select Open With > to access a Text Editor (NotePad, WordPad, TextEdit, etc.) to open the file.
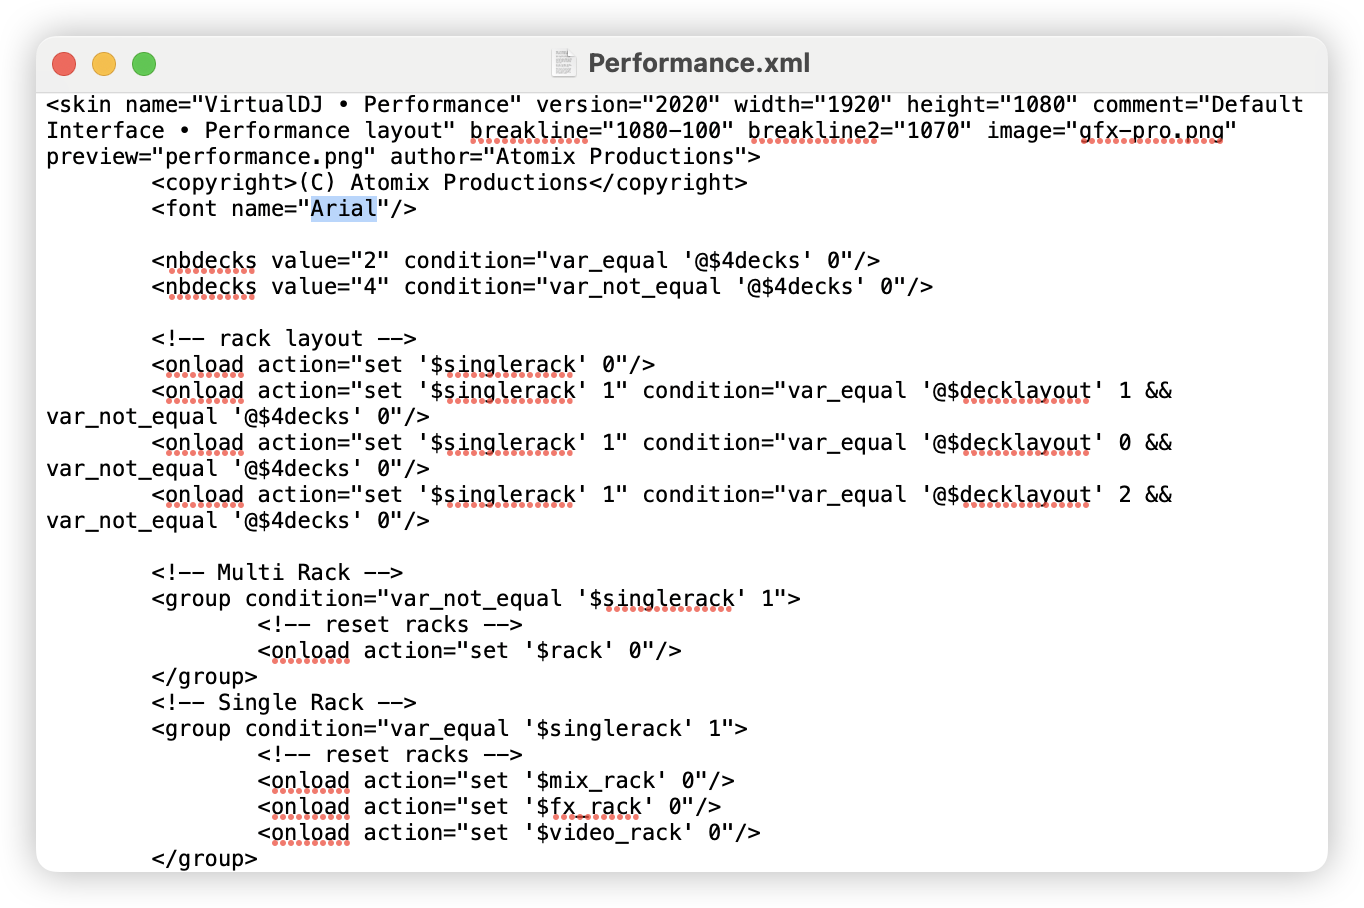
5. Make the changes in the XML that you wish to make. The Skin Developer SDK has more detailed information.
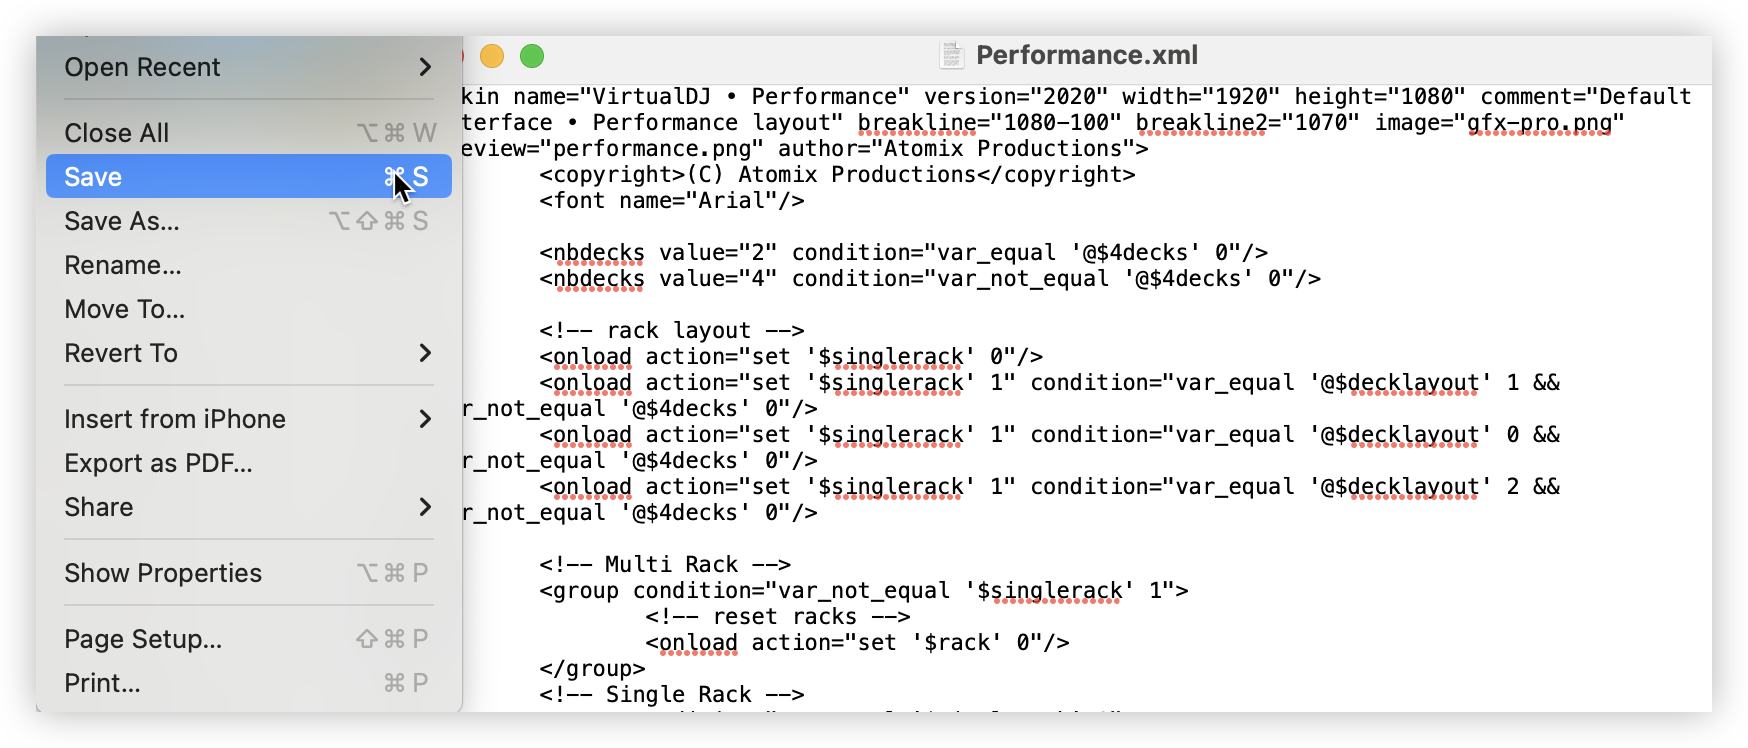
6. Once you have made all of your edits, go to the File Menu and select Save.
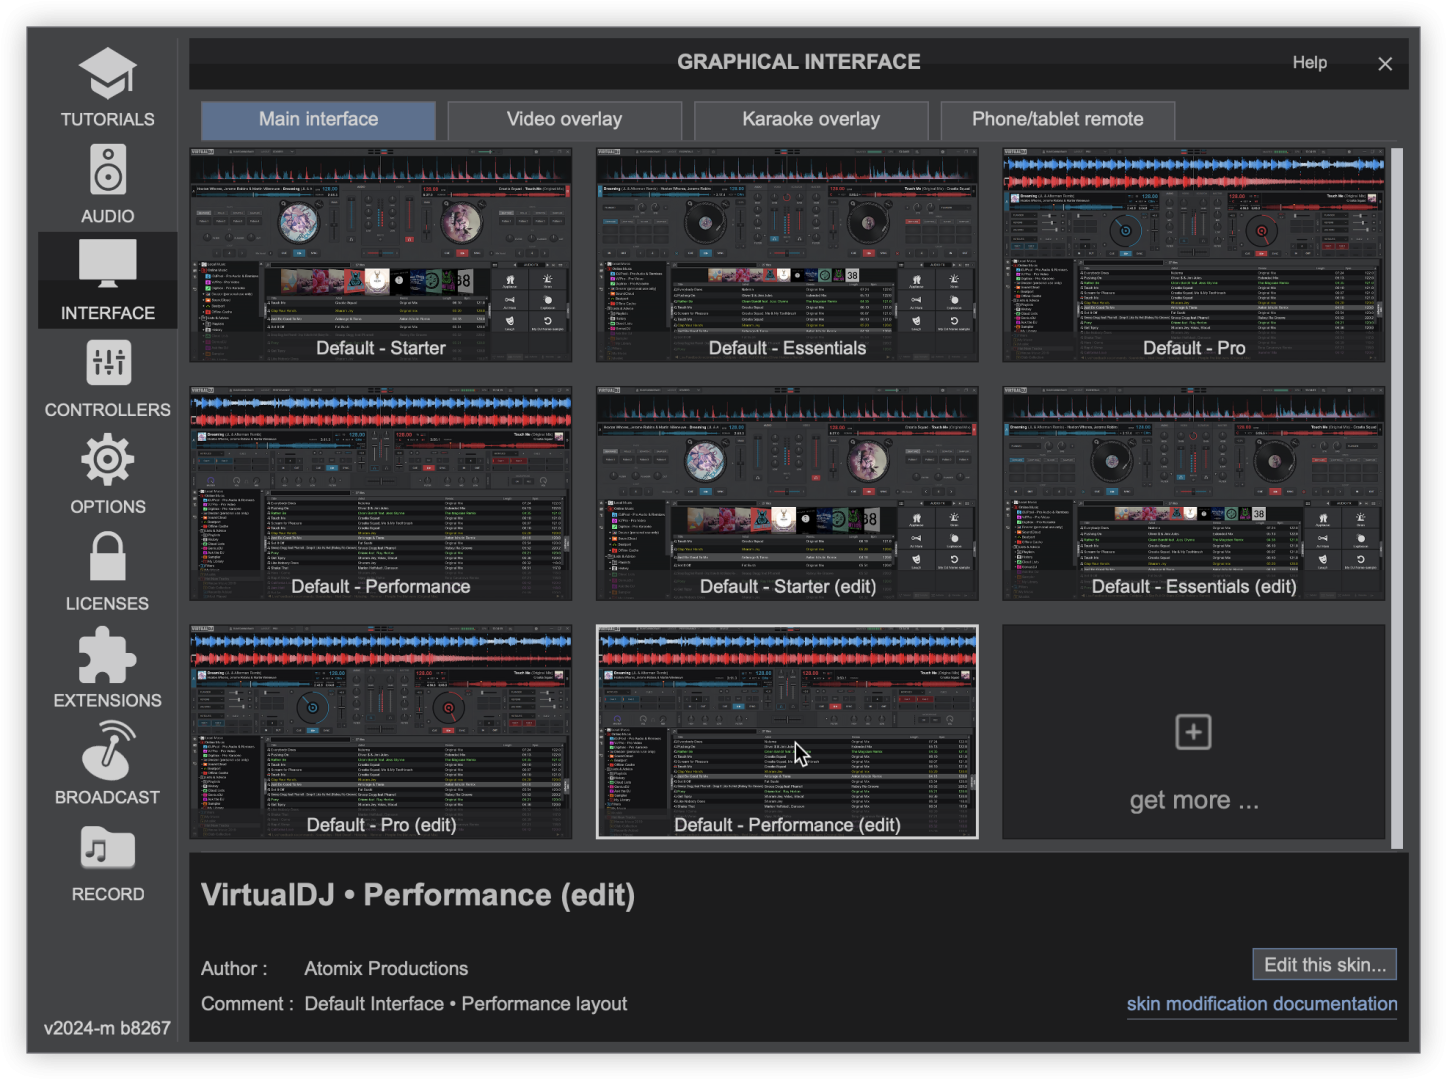
7. Re-open the Settings Interface Tab in order to see and choose your edited skin from the list of existing/installed skins. Skins that haven't been given a unique name will display as the default skin name with (edit) after it's name.