


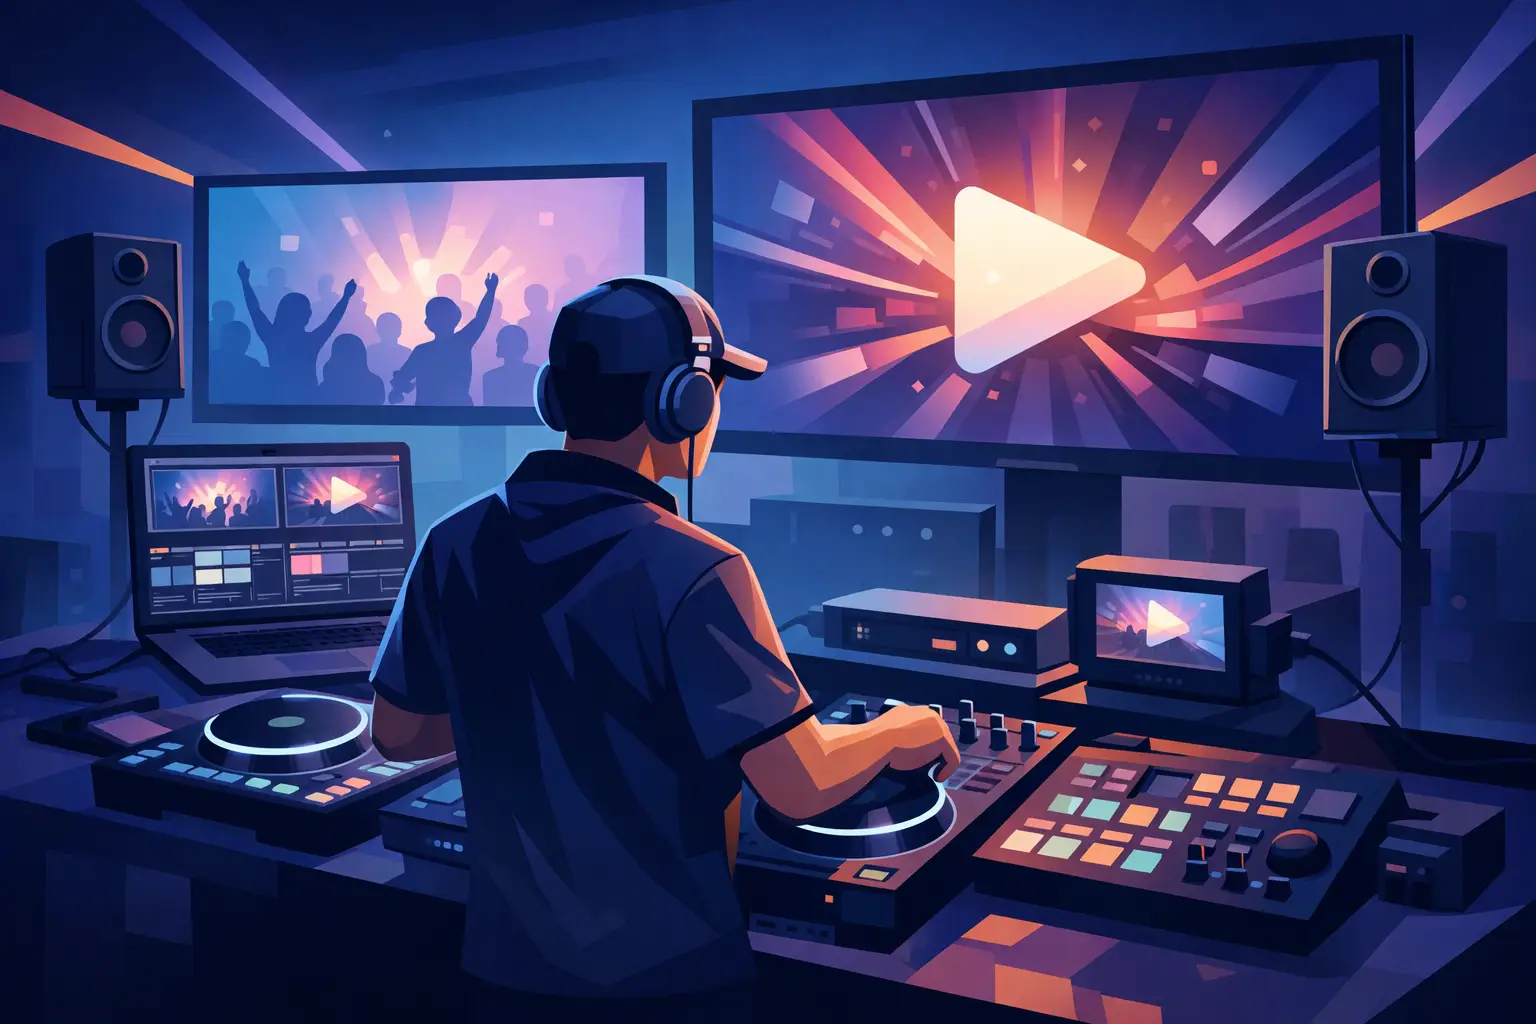
A packed dance floor does not care how many cables are behind your booth. It cares whether the first visual lands on the beat, the screens stay alive through every transition, and your performance feels bigger than a playlist. A well-built video DJ performance setup turns ordinary DJ sets into a full visual experience - for clubs, weddings, corporate events, lounges, and any room where music needs a stronger impact.
The winning setup is not necessarily the most expensive one. It is the one that matches your venue, your visual style, and your ability to perform confidently under pressure. Start with the signal path, build for reliability, then add creative control that makes your show impossible to ignore.
What a Video DJ Performance Setup Needs
At its core, video DJing combines audio mixing with real-time video playback and mixing. You are not just sending music to a sound system. You are sending a visual program to one or more displays while keeping everything locked to the rhythm.
That means every video DJ performance setup needs four things working together: a computer capable of handling video, DJ software with video mixing tools, a dependable audio and video output path, and screens or projectors that suit the space. The details change depending on whether you are playing a nightclub with an LED wall or a wedding with two TV screens, but the workflow stays the same.
Your laptop is the performance engine. Video files demand more processing power than audio-only tracks, especially when you are mixing high-resolution content, applying effects, using stems, or sending output to multiple displays. A modern machine with a fast processor, dedicated graphics capability where possible, sufficient RAM, and fast storage gives you more headroom when the set gets demanding.
Do not build a show around a computer that only works when nothing goes wrong. Leave room for effects, overlays, browser windows, last-minute requests, and the unexpected. Live performance is where extra headroom earns its keep.
Start With the Right Software Workflow
Video DJ software should let you treat visuals as naturally as you treat music. That means you need responsive video decks, clean crossfader behavior, flexible output options, effects that react to your mix, and support for the media formats you actually use.
VirtualDJ gives DJs a complete environment for mixing music videos, visualizers, camera feeds, karaoke graphics, effects, text, logos, and custom content from one performance interface. Instead of building a fragile chain of separate apps, you can control the audio and visual side of the show together. That matters when a transition has to hit now, not after you switch windows and hope the audience does not notice.
Your workflow should also fit the type of event. A nightclub set may rely on official music videos, looped visuals, beat-driven effects, and branded overlays. A mobile event may need monograms, photo slideshows, custom messages, and a polished visual backdrop during dinner or announcements. Karaoke hosts need lyrics displayed clearly while maintaining control of the music and singer rotation.
There is no single correct visual style. The better question is: what does this crowd need from the screen? For some rooms, fast-cut video mixing creates energy. For others, clean branding and subtle visuals look more professional than constant effects.
Build a Signal Path You Can Trust
The most creative visual routine is useless if the screen goes black. Before adding flashy effects, make sure you understand exactly how video travels from your laptop to the audience.
Your basic path is simple: laptop to display output, then display output to TVs, projectors, video processors, or LED-wall hardware. But each connection can introduce problems. Cable length, resolution mismatches, unreliable adapters, weak HDMI splitters, and incorrect display settings can all turn setup time into a headache.
For smaller events, a direct HDMI connection to one or two displays may be enough. For larger rooms, you may need a splitter, distribution amplifier, switcher, scaler, or the venue's installed video system. Ask the venue what inputs they provide before show day. “HDMI available” is not enough information. Find out the connector type, display resolution, screen placement, cable run, and whether their system expects a specific refresh rate.
If you run more than one screen, decide whether every display should show the same program. Mirrored screens are easier to manage and work well for weddings, bars, and mobile events. Extended outputs can create a more immersive show, but they require greater planning and more confidence with display routing.
Carry tested backups. A spare HDMI cable, a second adapter, a power strip, and a compact backup display adapter can save an entire night. These are not glamorous purchases, but neither is apologizing to a client while a blank projector screen hangs over the dance floor.
Choose Displays for the Room, Not the Catalog
A massive LED wall can look incredible, but it is not automatically the best choice. The right display depends on ambient light, viewing distance, venue layout, and how close the audience gets to the booth.
TVs are a strong option for private events, bars, and smaller spaces. They are bright, familiar, and generally easy to place on stands. Projectors can create a large visual canvas for less money, though they lose impact in bright rooms and need a clean projection surface. LED walls deliver high brightness and serious stage presence, but they increase budget, transport demands, power requirements, and technical coordination.
Think about sightlines before you think about screen size. A single well-positioned screen that everyone can see is often more effective than two screens hidden behind speakers, floral arrangements, or guests standing at the bar. If you use screens near the DJ booth, make sure they support the performance instead of blocking your connection with the crowd.
Organize Your Video Library Before the Gig
Video DJing exposes poor library organization fast. A music library can survive a messy folder structure because the audience only hears the result. A video library cannot. If a file is missing, has the wrong aspect ratio, contains a poor-quality visual, or starts with an awkward intro, the whole room sees it.
Prep your content like part of the performance. Use consistent file names, confirm metadata, analyze tracks, and test playback before the event. Keep your music videos, visual loops, logos, sponsor graphics, and event-specific assets organized in clear folders or playlists.
Pay attention to resolution and aspect ratio. Mixing old 4:3 music videos with modern 16:9 content can be stylistically interesting, but it can also look accidental if you have not planned for it. Some venues have wide LED displays, while others use standard HD TVs. Test how your content looks on the output you expect to use.
Avoid loading every visual you own into a set just because you can. A tighter visual selection gives your performance an identity. Build crates for peak-time tracks, singalongs, throwbacks, dinner sets, open-format transitions, and high-energy closers. When the room changes direction, you will have the right visuals ready instead of searching while the moment slips away.
Control Visuals Like an Instrument
The screen should react to your decisions. Map key video functions to hardware controls so you are not trapped using a trackpad during the biggest moments of the night. Video crossfader control, effect selection, loop length, visualizer activation, logo overlays, and camera switching are all candidates for mapping.
Keep your first mapping practical. You do not need twenty visual commands at your fingertips. Start with the controls you use most: blend, cut, effect, loop, and overlay. Once those feel automatic, add more advanced actions that fit your style.
Timing matters more than complexity. A sharp video cut on a drop can hit harder than a dozen effects piled over each other. Let the song breathe. Use visual changes to underline choruses, transitions, vocal moments, and crowd reactions. If the visual is fighting the music for attention, simplify it.
A camera feed can also change the energy in the room, especially at weddings, festivals, and branded events. Showing dancers, performers, or the DJ booth on the main display makes the audience part of the production. Just make sure the camera is positioned intentionally and does not reveal clutter, cables, or a distracted DJ staring at a settings menu.
Test Under Real Conditions
Do a full rehearsal with the same controller, cables, laptop power supply, displays, and software settings you will use at the event. Test your audio routing and video output at the same time. A setup that works in isolation can behave differently once external displays, USB devices, and power demands are added.
During soundcheck, inspect the screen from the audience area. Check for cropped graphics, unreadable text, lag, flickering, wrong colors, and audio-video sync issues. Also look at your booth. If the laptop blocks the display or the controller setup leaves no room for quick adjustments, fix it before doors open.
For professional work, build a fallback plan. Keep a ready-to-play audio-only playlist in case the venue video system fails. Have a simple static visual or visualizer prepared if a particular media file causes trouble. The goal is not to expect disaster. The goal is to stay in control when conditions change.
Make the Visuals Serve the Crowd
The strongest video DJs do not use visuals to prove they have visuals. They use them to raise the emotional temperature of the room. A perfectly timed throwback video can trigger a singalong. A custom name graphic can make a wedding couple feel like the night was built for them. A clean branded screen can make a corporate event feel premium without turning it into a slideshow.
Build the system, learn the controls, and test every connection. Then stop looking at the gear and look at the crowd. That is where a video performance becomes more than a technical setup - it becomes the reason people remember your set.