


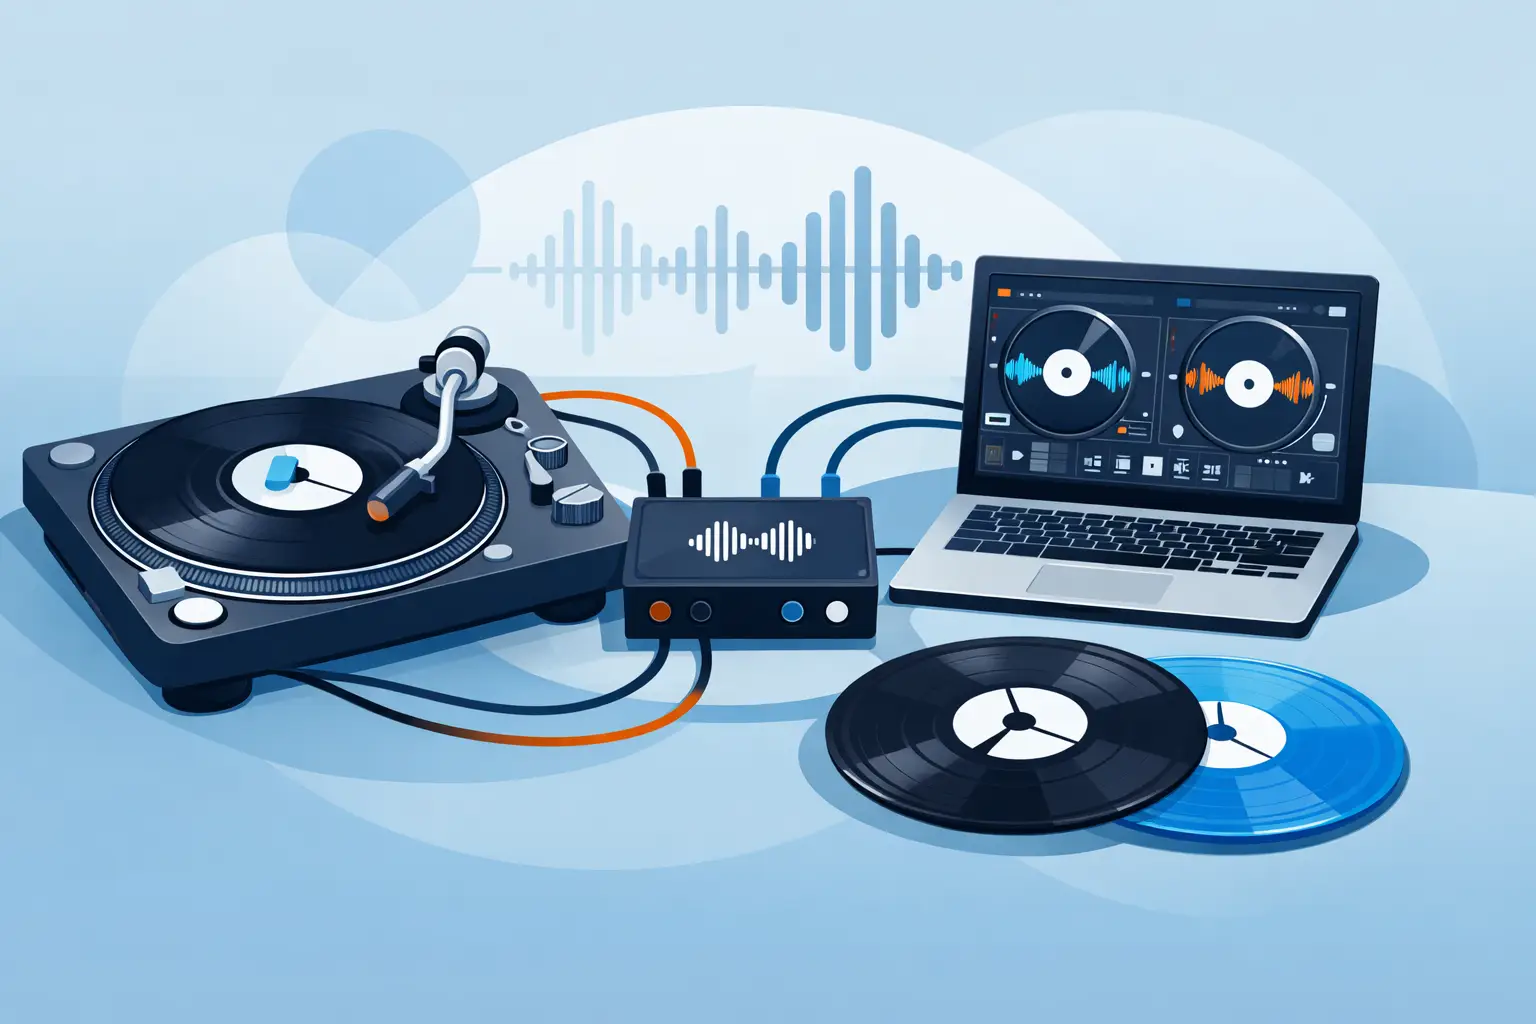
A great DVS setup does more than put digital tracks under the needle. It gives you the physical response of vinyl, the speed of a modern music library, and the confidence to perform without staring at a waveform. This DVS setup guide focuses on the details that separate a system that merely works at home from one you can trust when the room is full and the next record has to land perfectly.
Start with the right DVS signal path
Digital Vinyl System, or DVS, lets a timecode vinyl record or CD control playback in DJ software. Your turntable sends the timecode signal to compatible DVS hardware, the software reads the movement, and your digital track follows every push, pull, cue, and scratch.
The concept is simple. The signal path is where performance is won or lost: turntable or CDJ, RCA cable, DVS-ready audio interface or mixer, computer, DJ software, then your main sound system. Each connection matters because timecode is more sensitive to weak grounding, worn cables, and incorrect input settings than a standard line-level music source.
Before connecting anything, confirm that your mixer or interface is DVS-compatible and that your software license supports timecode control. Some mixers include built-in audio interfaces, while other setups need a separate interface between the decks and mixer. Both can deliver professional results. The built-in route reduces cabling; a separate interface can be useful when you need to work with a familiar analog mixer.
For turntable DJs, use direct-drive decks with stable pitch control and healthy tonearms. For CDJ users, make sure you have the correct timecode CDs and set each player’s output appropriately. A polished software setup cannot compensate for a deck with an unstable platter or a cartridge that skips under pressure.
Connect your turntables correctly
Connect each turntable’s RCA outputs to the appropriate DVS input. If the input has a phono/line switch, set it to phono for a turntable with a standard phono cartridge. Set it to line only if you are using a device that already outputs line-level audio, such as a CDJ or a turntable with its own preamp enabled.
This is a common source of bad calibration. Sending a phono signal into a line input makes the signal too quiet and thin. Sending a line signal into a phono input overloads it, adding distortion and making the timecode difficult to read.
Ground both turntables to the mixer or interface ground post. That small wire is not optional. A missing or loose ground often creates a low hum that may be barely noticeable in headphones but can interfere with a clean timecode signal. Keep RCA cables away from power supplies and laptop chargers where possible, especially in booths packed with lighting and wireless gear.
If your setup includes an external mixer, route the interface outputs to the mixer’s line channels. Use the correct channel for each deck and label your cables before a gig. When setup time is short, clear labeling prevents the classic left-deck-on-right-channel mistake.
Configure your software before calibration
Open your DJ software and select the DVS audio configuration. Assign each deck’s timecode input and each audio output deliberately. Deck 1 should receive the signal from the turntable or player you intend to use as Deck 1, and the same logic applies across every deck in your setup.
Choose the timecode format that matches your vinyl or CDs. Then select your preferred control mode. Relative mode is the most flexible for many working DJs because the needle can be placed anywhere on the record while playback continues from the current digital position. Absolute mode follows the physical position of the needle, which feels closer to traditional vinyl control and can be ideal for routines that depend on precise record placement.
There is no universal winner. Relative mode handles needle drops and timecode wear more gracefully. Absolute mode delivers a more literal vinyl experience, but it requires clean records and a correctly calibrated signal. Learn both before deciding what belongs in your performance workflow.
VirtualDJ gives DJs detailed timecode calibration tools alongside the flexibility to combine DVS control with stems, video, karaoke, and custom performance layouts. The advantage is not just getting a digital track to move. It is building a setup that can evolve from a scratch session at home to a full-scale event performance.
Calibrate timecode until the signal is clean
Place the needle on the timecode vinyl, start the platter, and open the software’s calibration or timecode settings. You should see a stable circular signal display or quality indicator, depending on your software. A clean signal normally appears as a smooth, centered shape with a high quality reading.
If the display is broken, scattered, oval, or unstable, do not ignore it. Calibration is the health check for your DVS rig. Fix the cause before you start mixing.
Begin with the basics: clean the timecode record, inspect the stylus, and make sure the cartridge is firmly connected. Check that the RCA cables are fully seated and that the phono/line setting is correct. Then verify the turntable’s ground wire. Most signal problems are physical, not software-related.
Set your cartridge tracking force according to the cartridge manufacturer’s recommendation. Scratch DJs may run a slightly higher tracking force within the safe range for better record stability, but excessive force wears records and styli faster. Balance performance reliability against equipment longevity rather than assuming more force is always better.
A damaged timecode record can still play music-like noise through a system while producing unreliable control data. Keep backup timecode vinyl in your bag, especially for mobile and club work. It is one of the smallest investments you can make in a more dependable set.
Tune for latency, not just low numbers
Latency is the delay between moving the record and hearing the response from your software. Lower latency feels tighter, especially during scratching and fast cue work. But the lowest possible setting is not automatically the best setting if it causes crackles, dropouts, or unstable audio.
Start at a conservative buffer setting, test cueing and scratching, then lower it gradually. Test with the laptop running on battery and with its charger connected. Some computers introduce electrical noise or performance changes when power settings shift. Close unnecessary apps, disable system notifications, and avoid automatic updates before a show.
Your goal is not an impressive number on a settings screen. Your goal is a response that feels immediate for your hands and remains stable for an entire set. A slightly higher buffer with zero audio interruptions beats a super-low setting that fails during your best transition.
Build a DVS setup that survives the booth
A clean home setup is only the beginning. Live booths introduce vibration, limited space, inconsistent power, and people who set drinks near your gear. Use sturdy RCA cables, secure your laptop stand, and give every connector enough slack that a small bump will not pull it loose.
Turntable isolation matters in loud environments. Heavy bass can travel through the booth and into the stylus, causing rumble, skipping, or a drifting timecode signal. Isolation pads, foam solutions designed for DJ decks, or a stable booth surface can make a meaningful difference. If the venue’s booth shakes, reduce bass near the decks when possible and avoid placing speakers directly beside the turntables.
Bring a compact backup kit: spare needles or stylus assemblies, timecode records or CDs, RCA cables, a USB cable, a power adapter, and a small flashlight. These are not glamorous additions, but they protect the performance when the unexpected happens.
Test the way you actually perform
Do not stop after the calibration meter looks good. Load tracks and test the full range of movement: start and stop the platter, use the pitch fader, perform a quick scratch, lift and replace the needle, and move between decks. Check headphone cueing, master output, microphone routing if you use it, and every channel you expect to touch.
Then test your creative tools. If you plan to use stems, loops, effects, video, or samples, activate them while DVS is running. The best time to find a routing conflict or CPU issue is before doors open, not during the first peak-time record.
A DVS rig should feel invisible once the music starts. Give it a disciplined setup, clean calibration, and a realistic soundcheck, then let your hands do what they came to do: turn every track in your library into a live performance.